Roster Setup
Add players to your roster
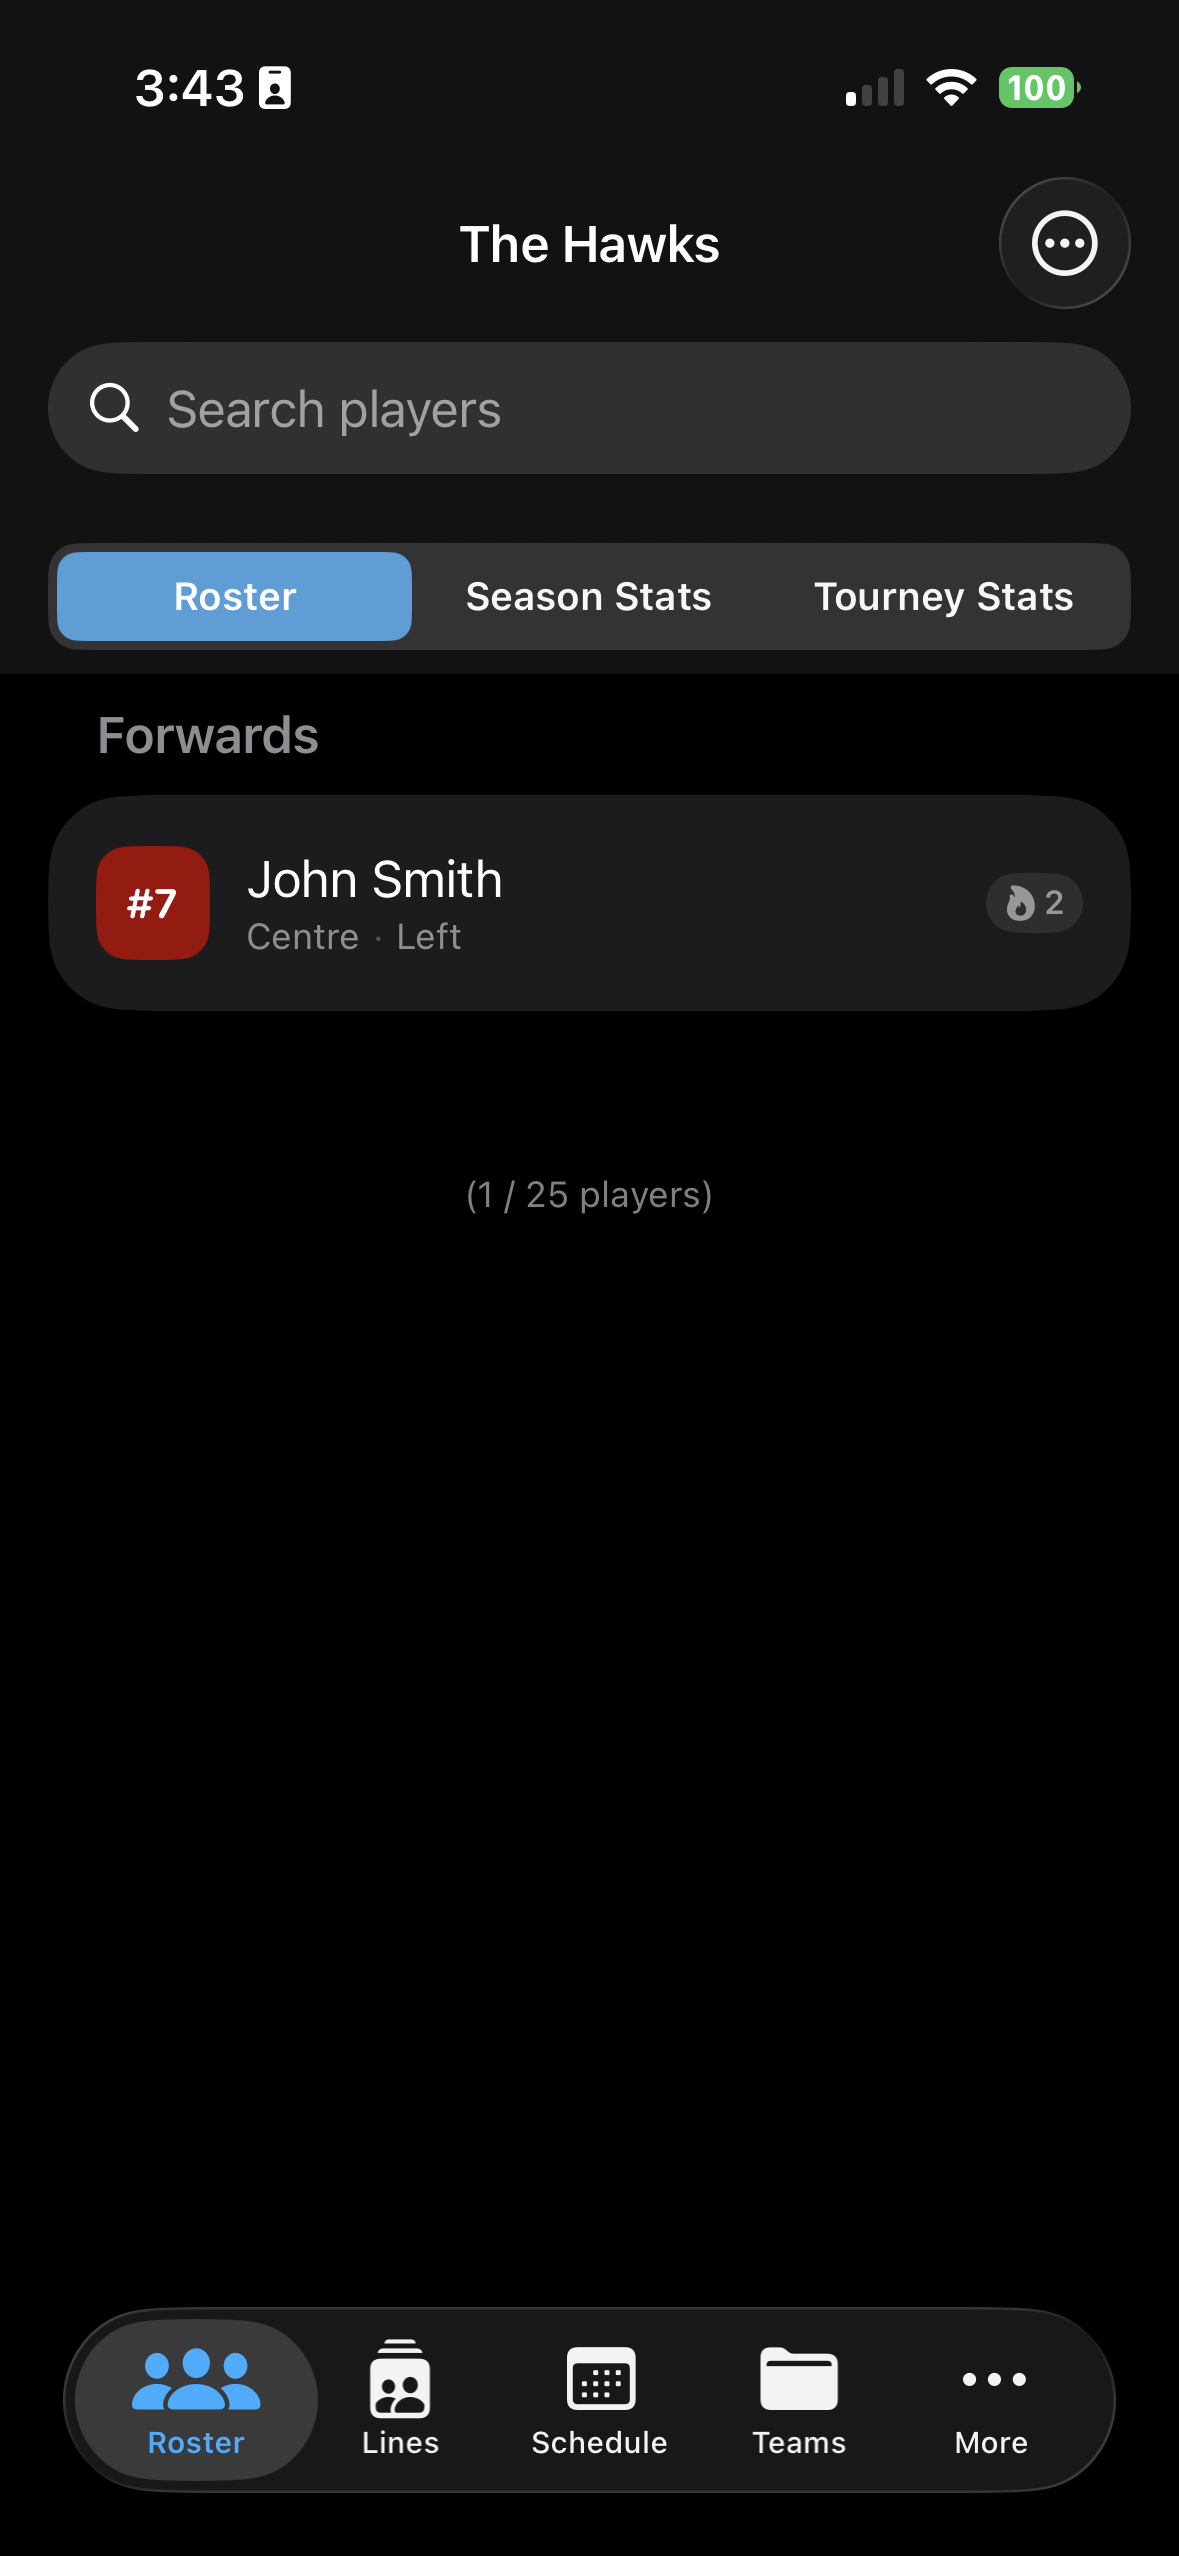
Open the Roster tab and tap the + button
From the bottom navigation, select the Roster tab. Tap the + button in the top-right corner to open the Add Player form.
Enter the player's name and jersey number
Type in their first and last name, then set a jersey number between 1 and 99. Jersey numbers must be unique within your team.
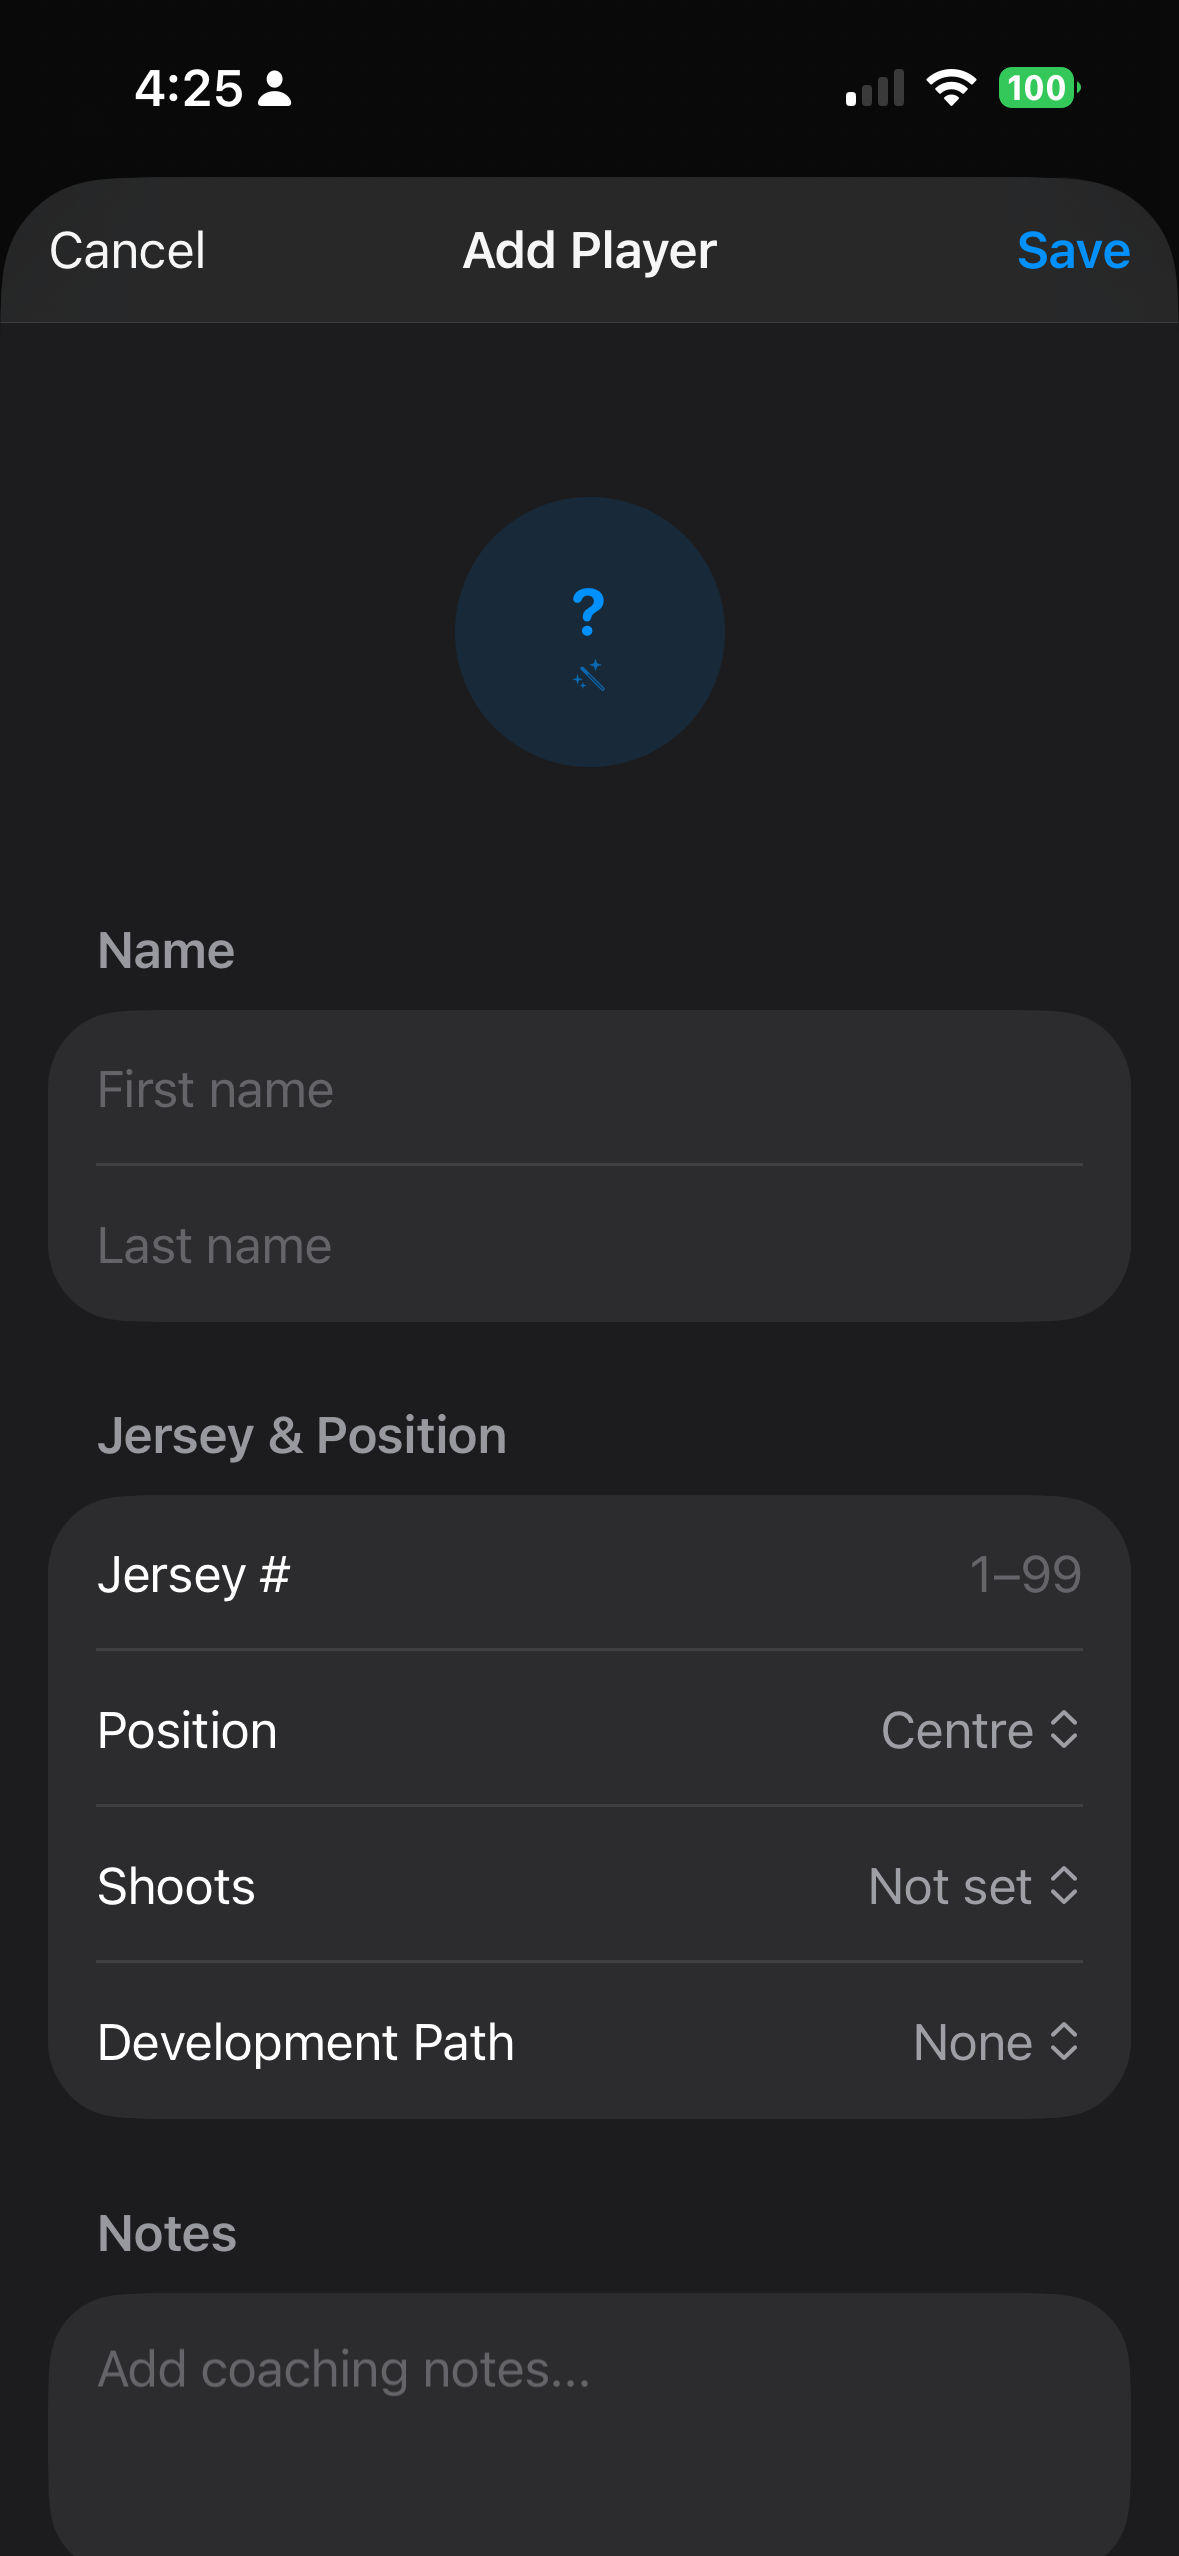
Set position, shoots side, and development path
Choose their position (Forward, Defence, or Goalie), which side they shoot, and optionally assign a development path to help track their progress through the season.
Add a photo and coaching notes (optional)
Tap the avatar at the top to add a player photo from your library or camera. Use the Notes field to jot down coaching observations, areas of focus, or anything else you want to remember.
Tap Save — your player is on the roster
Hit Save in the top-right and the player is added instantly. Repeat for every player on your team. The roster screen supports search and filters so you can find anyone fast.